Onion skins were one of the first sources of kitchen scraps that I began experimenting with, at a time when the COVID pandemic immobilized most of our lives, and while I also ran out of my usual paints. Yes, my foray into natural colours took place when I realized that I was wasting too much time and unused vegetable peels, worrying about life, death and the possibility of being stuck at home without being able to make art. (More about how that unfolded here). So I decided to do something about it–marched into my kitchen and began simmering several close-at-hand organic materials to check which would potentially give colour.
With time I have come to appreciate how glorious this particular unused vegetable part is (onion skins), for just about anyone who wants to begin working with natural dyes, regardless of previous experience. It’s such an easily available raw material! Just save the skins every time you cook and you’ll have more than enough within a week to start your explorations. Onion skins give a vibrant, long-lasting colour. That is manly due to all the tannins present in the skins, which have natural mordanting properties. This means that the natural hues that you’ll get from this dye will be colour-fast without having to add an external colour-fixing agent.
There are a variety of onions grown and sold around the world. You get them as white onions, red and even yellow onions. The ones I have used, both while staying in Los Angeles, CA and now in Bangalore, India, are the red ones. And these, to the best of my knowlegde and experience, give some of the best colours.
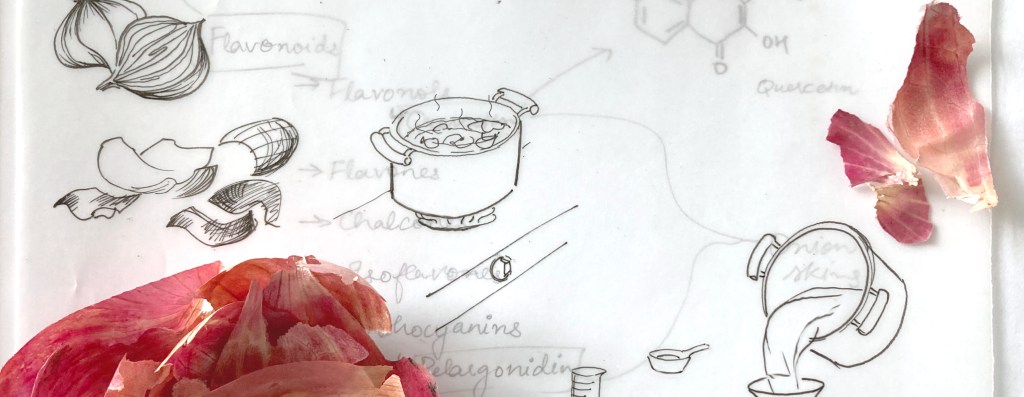
WHAT GIVES THE COLOUR?
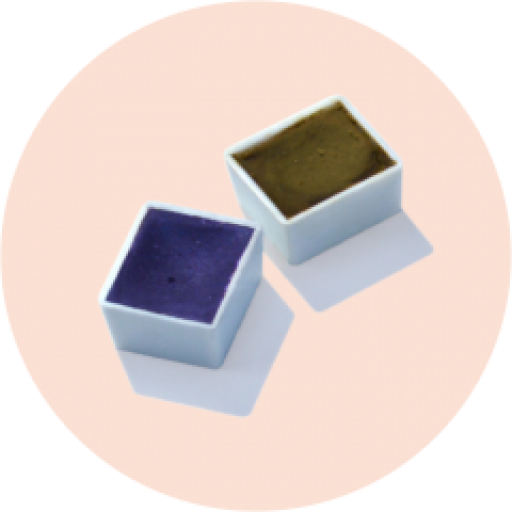
In extracting the dye from red onion skins, I have noticed two colours emerge in the pot. One has been a pale reddish hue and the other a near golden yellow. A little bit of online investigation about these informed me that the presence of flavonoids like quercetin, kaemferol and pelargonidin (along with some other organic compounds)1. are responsible for those colours
During my earliest experiments, I would use bits of the brightly coloured reddish, fleshy layers to extract the dye, resulting in a pinkish colour. This would eventually fade out or turn brown with exposure to air and light.
In my more recent experiments, I have used only the dry shells, which produce an almost golden yellow, some greenish-yellow and lovely golden-browns, which have lasted for much longer than the pinks. This yellow comes from quercetin and the tannins in the dry shells help retain the color longer. There are other flavonoids, particularly anthocyanins (like cyanidin, peonidin, and pelargonidin), that contribute to the reds, pinks and purples of the onion’s skin and fleshy layers. But these may not be stable enough2 in changing environmental conditions to retain their colour over time.


All images by the author.
Let’s Make the Dye
Extracting the colour from onion skins requires some very basic equipments that you might already have in your kitchen. Check if you have the following lying around,
A pot to soak and stew the skins/shells in (ideally stainless-steel or any non-reactive material),
a ladle to stir the skins and water around,
a strainer and/or muslin cloth to strain the dye before use,
one or two other clean containers to collect the strained dye in,
jars to store the dye or ink in,
and a heat source–like a stove, hot plate or a water kettle.
The entire procedure can be followed in three steps:
Step 1. Collecting the onion skins
The ‘skins’ here refers to the dry, shell-like outer covering that you remove and throw away before chopping up the fleshy layers.
Collect these for a week, or till you have a large fist-full, while storing them in a cool, dry place. Keep only the dry skins. No moisture-filled fleshy bits.
If you are using Indian red onions, it will help to remove the pale/colourless bit of the skin, for a richer dye colour.

Artwork by the author
Step 2. Extracting the colour to make the dye or ink
Collect water (distilled or purified) in a container and add the onion skins to it.
Make sure there is enough water to fully immerse those skins, and you have some space to stir the contents around. Choose the size of the container accordingly.
Put the container on a heat source and allow this to simmer–but not boil!
The colour giving organic compounds in most natural source of colour tend to break down at prolonged high temperatures3, resulting in reduced intensity. So, do not ‘cook’ these skins. Just a little heat will do.
As this mix heats up, gently stir the skins around in the water.
Do you see the colour releasing from the skins into the liquid? What colour is it? An orange-yellow? A deep pink? A brown? Take a picture and make a note of it all! Start painting strokes or swatches every 10 mins to see the colour develop.
Keep observing and stirring till it reaches your desired intensity of hue.
Simmer till it reaches the right consistency (more on this below). Then turn the heat off. In case the dye dries up on the heat, first check if it’s burnt. If it looks like it has really just dried up, you should add a bit more water.
Allow the dye pot to cool off completely.
After turning off the heat source, there will be plenty of latent heat in the mixture that will contribute to the dye’s colour development. So only after it’s completely cooled off, will you know the colour you made. Separate the dye from the skins by pouring it through a fine strainer and/or muslin into a new, clean container.
You can do a similar exercise with a kettle and hot water as well. You should ideally start with a smaller quantity of already-heated water, in proportion to the onion skins you plan to use. Allow the skins to soak in the water, and slowly release the colour, while stirring the contents. You could leave this overnight, for the skins to release as much pigment as possible. Observe the colour as it develops, and add more water if you need. Add more hot water in small measures, as per your observations of the colour intensity and your need of dye quantity.
This liquid is ready to be used as a dye to soak and stain small pieces of paper or cloth. It can also be used as ink to paint on paper.
Now what is this ‘right consistency’? It depends on how you want to use the dye. If you want to paint with it, simmer till it reaches a slightly dense, ink-like consistency. Want to dye pieces of paper or fabric? Then it can be less dense, but enough in quantity to allow dipping the entire fabric or paper in it. Amidst all this, it’s most important to check the colour intensity of the dye, and the amount of water used to create it.
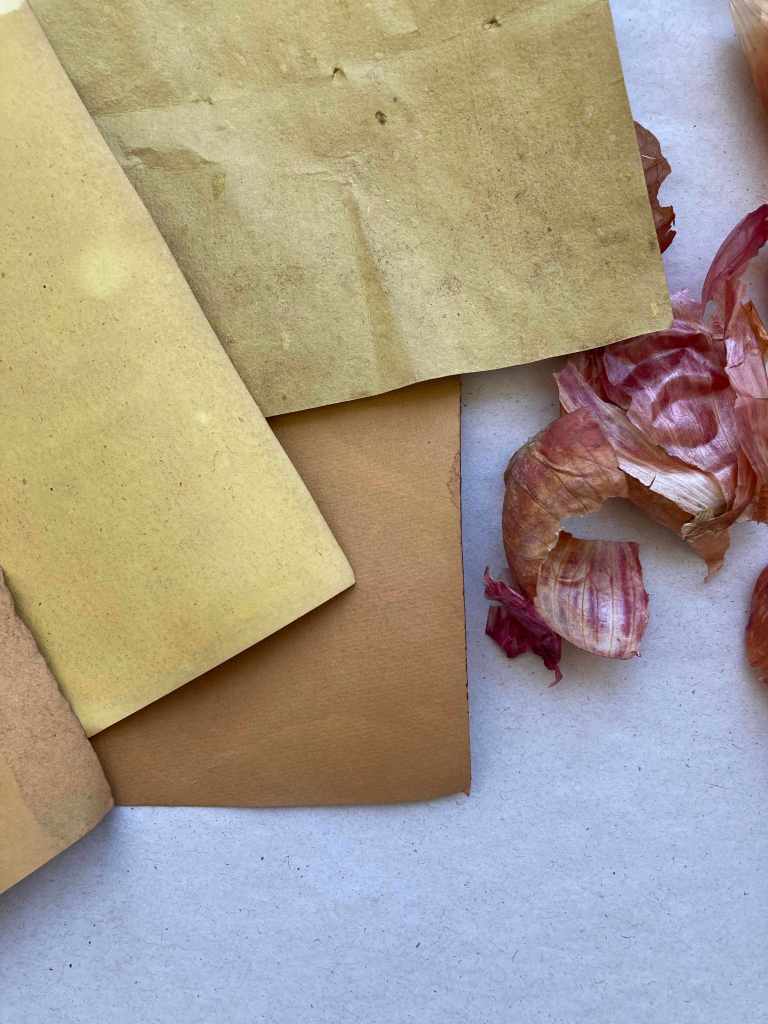
I started dipped some handmade papers in the golden liquid of onion skins, to then paint little details on them. It makes for a truly intriguing exploration, to see how the yellows layer up and create forms of their own, like mountains.


Artworks and images by the author.
Step 3. Storing and using the dye/ink
Use only clean jars or containers to collect and store the dye or ink for a long time. Add a few drops of clove oil or few whole cloves will also do. Keep the jar or container either in a cool, dry place or in the refrigerator. All these help prevent growth of moulds.
For small quantities, the ideal containers are little glass bottles with droppers. For larger quantities, jam or pickle jars can be re-purposed after a thorough cleaning.


Images by the author.
THERE YOU GO…
Making dyes from natural sources, particularly vegetable waste, can be a messy and patience-testing activity. Let this not get in the way of having fun while making those colours and painting with them.
This is a multi-sensory process. Yes, you need to see the skins and peels while collecting them, looking out for potential of it giving the colour and then observe when the colour begins to develop in the dye pot. You also need to listen to the water simmer and bubble and keep a nose out for the aromas, to know when to turn the heat up or off.
As the dye pot simmers, you will find yourself standing in the kitchen feeling either hot and sweaty or warm and cozy, depending upon the season and your proximity to the equator.
When the dye colour starts showing, you might excitedly call out to the person in the next room to come see the hues you just extracted! When no one’s in immediate reach, you will most probably share it on that friends group chat or post it on social media for everyone to see what you are up to.
Do it! Sharing the joy of making colours is just as much a part of the grand process! I assure you there’s always someone looking forward to see you make a new colourful discovery, whether they sitting next to you or in a different country.
References
- Manoj Kumar, Mrunal D. Barbhai et al. “Onion (Allium cepa L.) peels: A review on bioactive compounds and biomedical activities,” Biomedicine & Pharmacotherapy, Volume 146, 2022, 112498, ISSN 0753-3322, https://doi.org/10.1016/j.biopha.2021.112498. ↩︎
- SamotaSamota MK, Sharma M, Kaur K, Sarita, Yadav DK, Pandey AK, Tak Y, Rawat M, Thakur J and Rani H (2022) Onion anthocyanins: Extraction, stability, bioavailability, dietary effect, and health implications. Front. Nutr. 9:917617. https://doi.org/10.3389/fnut.2022.917617 ↩︎
- Tripti Singh, Vinay Kumar Pandey, et al. “Natural bio-colorant and pigments: Sources and applications in food processing,”Journal of Agriculture and Food Research, Volume 12, 2023, 100628, ISSN 2666-1543, https://doi.org/10.1016/j.jafr.2023.100628. ↩︎

Leave a comment